- Positioning the bed relative to the hot end (Distance)
- Leveling the adjustable bed.
But, for now, I want to concentrate on the effect that an out of level bed will have on your prints. We'll use the test duck that you can download from Bit From Bytes.
Here is my first attempt at printing the duck using the black filament that came with the kit. I believe you should be able to see the images at full size by clicking on them. Forgive the dust on the ducks. They've been around a bit. LOL!
 |
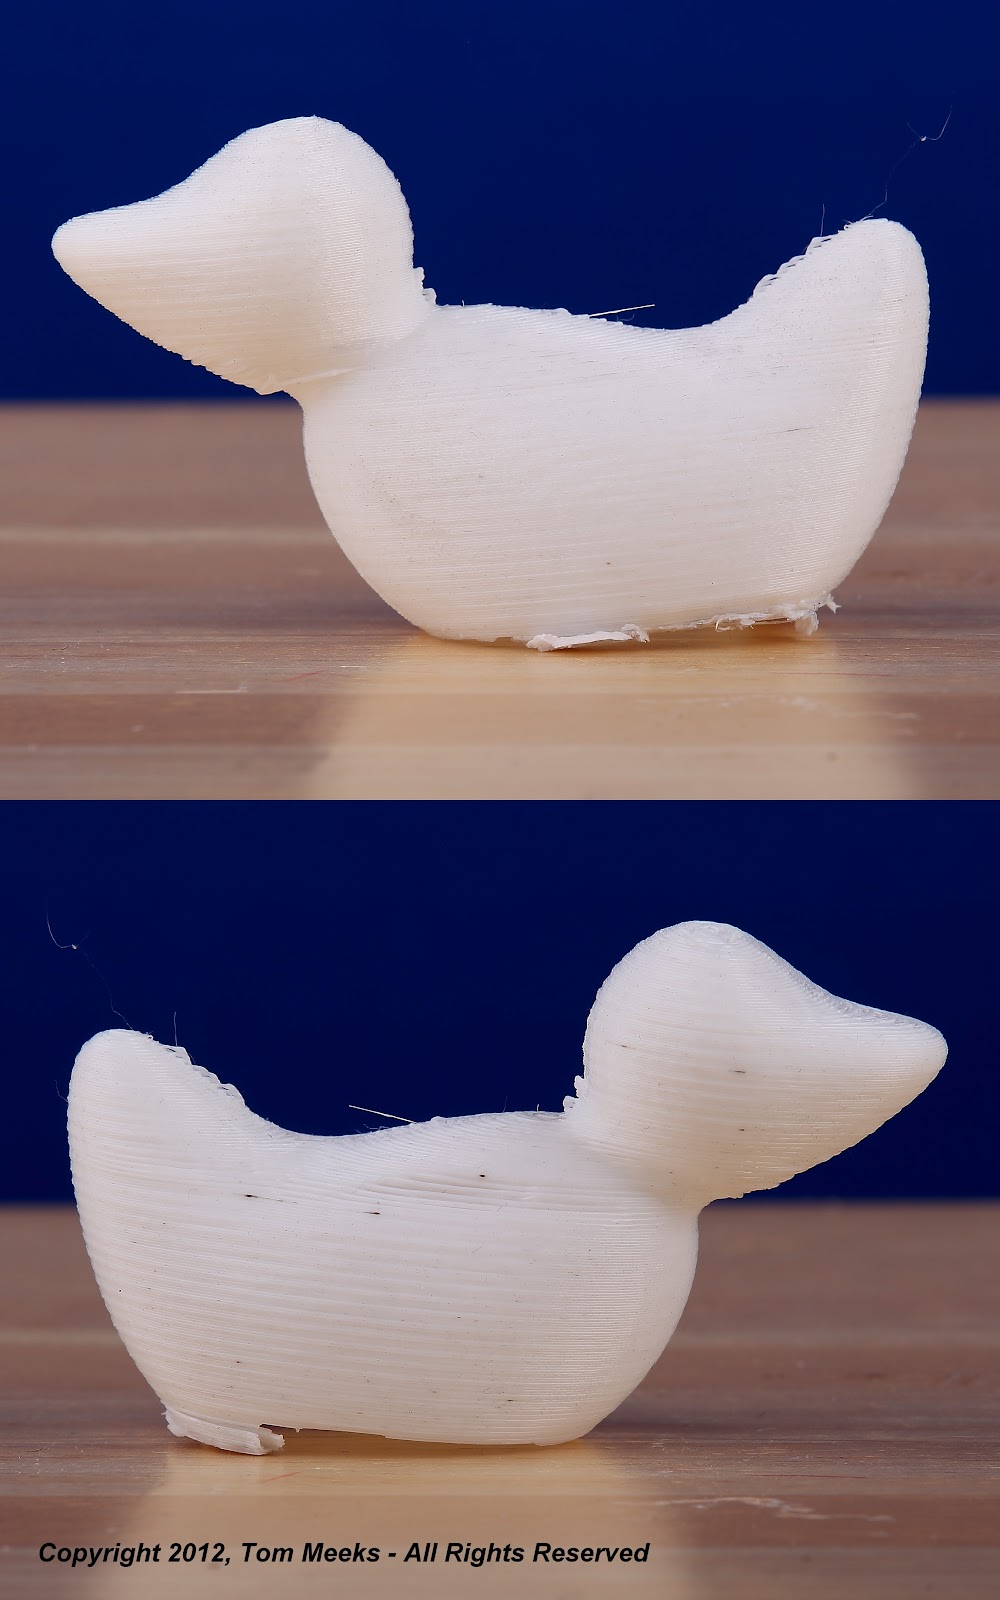
| Duck Test #1 |
The duck is printed facing to the left of the RapMan and it looked pretty good for a first print as I was watching it form. But, when I removed the duck and took a look at the back side, it was apparent that I had a lot of work to do. But, what was that work? What made the back side bad and the front side good.
The first hint came as I looked inside the duck. It's hard to photograph. But, for each of the missing lines in the above image, there is a strand inside the duck that is unconnected. The instinctive answer is to raise the back part of the adjustable bed, thinking that the gaps were caused by lack of adhesion.
 |
| Duck Test #2 |
SO... I ADJUSTED THE BOLT ON THE EXTRUDER HEAD TO LOWER THE BED RELATIVE TO THE HOT END
Starting again, and thinking if a little good, then more is better, I loosened the bolts in the back a bit more. WHOOAAAA! NOT good, as you can see from the third test.
 |
| Duck Test #3 |
This was NOT due to adjusting the entire bed lower. It was due to raising the back of the bed too much.
Of course, this prompted me to come up with a better way to level the entire bed before going on to the next test. I will talk about the method I came up with in another post. But, for now, it is enough to say that I came much closer to getting the bed level on the next pass.
 |
| Duck Test #4 |
Now, we are getting somewhere. We are very close to honing in on the right bolt tension to level the bed. But, as you can see, the back side of the duck STILL has some issues that are not apparent on the front side of the duck.
So, I loosened the back bolts by 1/6 of a turn on both sides.
 |
| Duck Test #5 |
 | ||
| Duck Test #6 |
We'll see how that works. But, it is clear that leveling the bed is not only tricky; but, vital if we want to have perfect 3D prints. And, observing the results above, my thinking is that LOWERING the back part of the best might result in smoother layers after all. We'll see.
But, there is another observation I'd like to make. That is the fact that looking at the raft for each duck can tell us a lot.

The raft at the right was created with Duck Test #3. The black tint comes from the fact that there was some residual black left in the extruder. The important thing to note with Duck #3 is how WIDE the raft filaments are in comparison with the other rafts. This is because the hot end was too close to the best for that run. And, it made it VERY difficult to remove. By, test 5 I'd realized that the 70mm bolt should be lowered more. But, the filament is still a little fat. Test #6, was much better, except for a fat section as the print started. I'm not sure why that happened. But, both #5 and #6 were much easier to remove than earlier test runs. It seems to me that a dedicated post related to what a raft might be able to tell us is in order.
But, for now, the leveling quest is continuing. Stay tuned for tonight's result! I've really enjoyed this quest and I hope it is helpful to all those trying to set up a RepRap or RapMan 3D printer.
3 comments:
That article is so interesting and makes a very nice image in my mind.I visited your blog for the first time and just been your fan. Keep posting as I am gonna come to read it everyday.
Adjustable Bed
Hello.
Thank you for your blog. I am going through the same issues at the moment. I have not tried to print the duck though.
My Rapman does quite well printing square and straight things, but struggles with round items. I have tried to do a set of wheel...with very bad results.
Thank you for your posts!
One of the things I would check is to see if the "Y" axis belts are evenly carrying the head transport back and forth. I will address this issue in an upcoming blog and suggest a tool to help that alignment.
Post a Comment