Monday, June 25, 2007

V-FLASH Newsletter Announces Beta to Begin


We received an email this morning, from V-Flash, containing their latest newsletter. The bulk of the newsletter was dedicated to explaining why they chose to build the objects in an upside down orientation.

Why Upside Down?

The primary reason, of course, is that they use a photocurable liquid and if they didn't build upside down they would have to build the objects in a tank holding all the liquid. Obviously, that isn't the optimal solution if you've found another. And, they have, as you can see in the above illustration.

It's an ingenious solution that dips a sheet of film into a cartridge holding the liquid and pulls it back out, carrying a layer of the liquid on its surface. The hanging piece is lowered into the layer of liquid and some of the liquid is photo cured to create the next layer of the object. Any uncured liquid is simply carried back into the cartridge during the next build cycle.

This is a great technique for making the process both efficient of materials and clean. But, there are a few ramifications for designing a piece built in this way since there are no actual support materials. For most shapes where building a piece would require support materials if the piece were build right side up, there is no need for support with the upside down build. It's a great idea.

But, one of the benefits of 3D printing is having the ability to create pieces within pieces. A cage with an animal inside it would be an example. When building this type of piece in the V-Flash, without some minor revisions to the design, the animal would simply remain on the film. It's a simple fix. Simply add tiny breakaway sprues connecting the bottom of the animal to the bottom of the cage and break the sprue after the job is completed. The sprues have to be carefully located and easily broken; but, it's not a monumental problem.

Preparing for Beta

The big news in the newsletter, was that they are preparing to begin beta testing the V-Flash. This stopped us in our tracks since we had assumed that beta testing had been well underway given the announced target for delivery of the first units. It seemed to us that they were hinting that the delivery schedule might be slipping a bit. While we're as anxious as anyone to see desktop 3D printers arriving as soon as possible, we'd rather have the first users have a great experience with their new tools. So, whatever it takes to get it right, it takes.

Sample Parts Scarcity

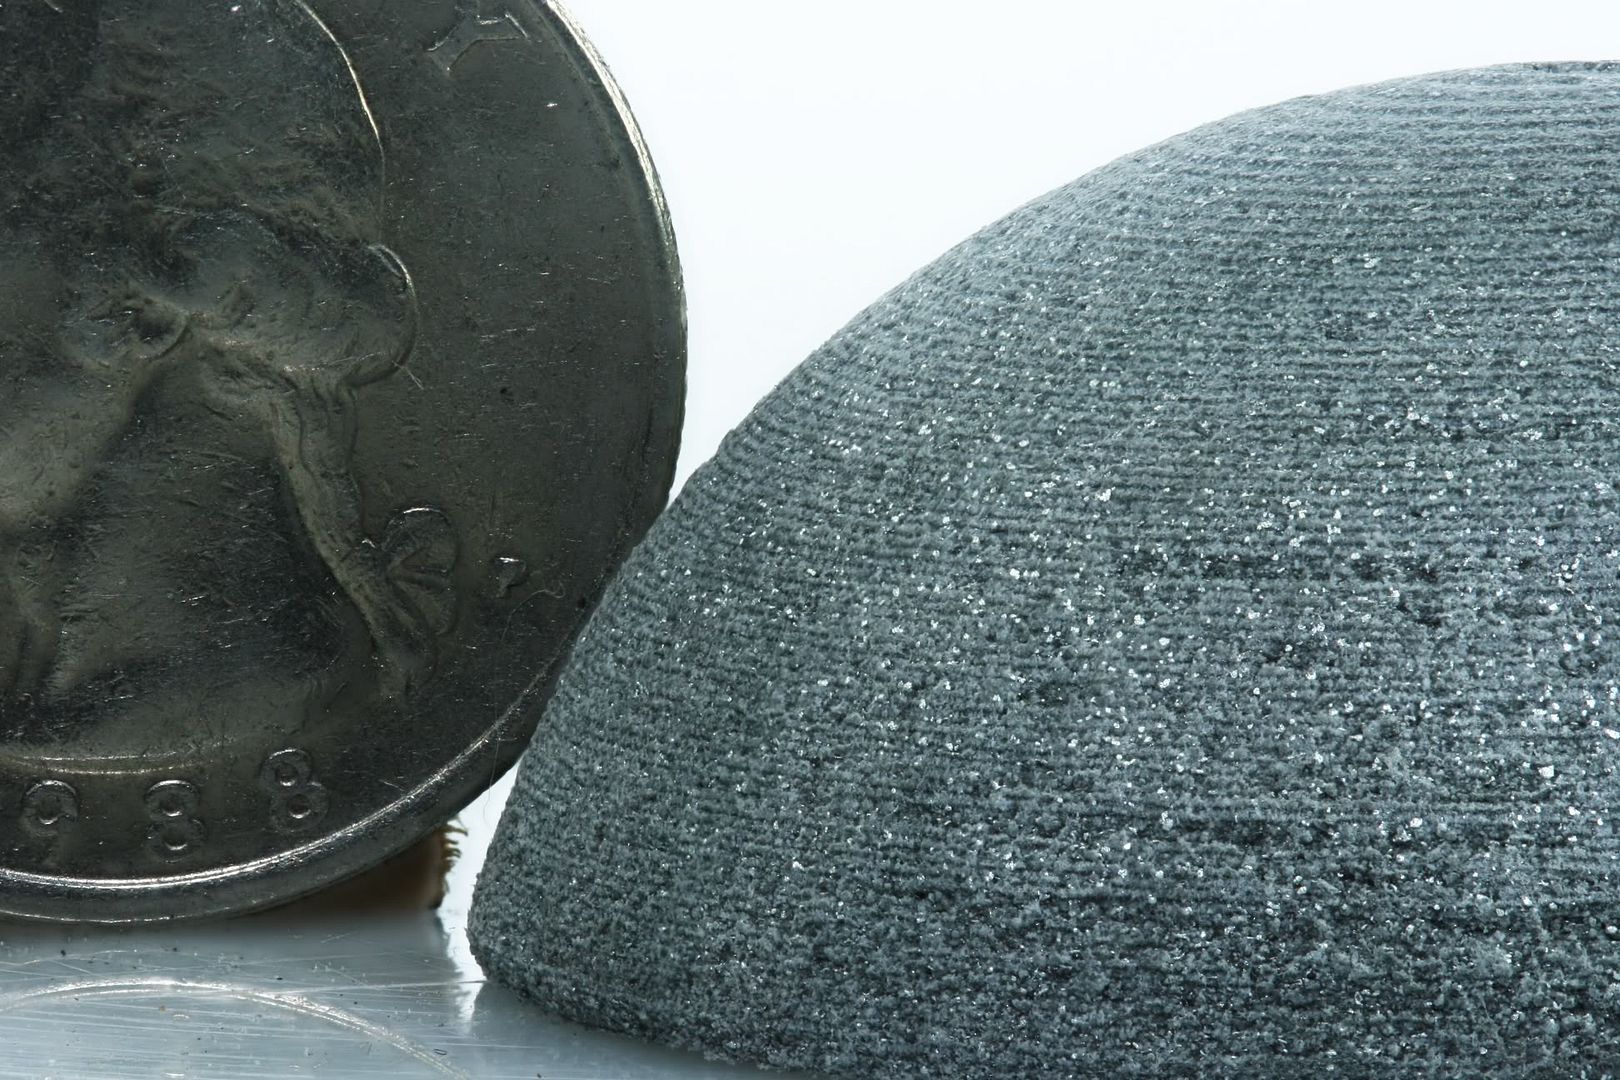
No matter which of the new desktop units you are interested in, it takes a long time to create a part. Estimates are around 1" of height per hour. So, there aren't all that many parts being created, even if several machines are being run constantly.

We expect this shortage of sample parts to continue long after the units are in beta. But, even so, we hope to be able to be able to see a least some small samples of the V-Flash materials before the units are shipped, so that we can test its characteristics for you. We're already doing this with some materials created in the Desktop Factory 3D printer which will allow us to be able to help potential buyers and users with realistic expectations and suggestions for getting the most out of the printer based on these tests.

If you'd like to be put on the V-Flash newsletter mailing list here is the link.

V-Flash Newsletter Signup

In the meantime, we'll keep tracking for you!

Thursday, June 21, 2007

DC SIGGRAPH Looking forward to 3D Printing


The Washington, DC chapter of SIGGRAPH met this evening in anticipation of the annual SIGGRAPH meeting. So, the primary focus was on how to maximize one's time at SIGGRAPH because it's an enormous show and it's easy to become overwhelmed.

But, toward the end of the meeting, the attendees had the opportunity to view a single small object printed by an early prototype of the Desktop Factory 3D printer. It was a simple dome shaped test piece; but, it was enough to cause quite a stir!

It was very quickly apparent that many in the group feel that desktop 3D printers will open a wave of creativity that we can't fully comprehend. It was amazing to see how animated knowledgeable people become when they first see and handle the tangible output from a 3D printer... especially a piece that is as robust as the sample they were shown.

One of the goals in showing the piece was to find experienced 3D modelers wishing to experiment with and explore 3D printing when the first desktop units become available. And, there was certainly no shortage of volunteers. This is going to be fun.

The next few years promise to be very exciting and rewarding for 3D modelers. And, desktop 3D printing while be one of the primary creative forces behind the excitement.

While I'm showing the dome as they saw it, let me show you the SAME DOME that has been lightly sanded and painted with a silver metal flake paint used by plastic model makers.

Here is BEFORE sanding and painting.

and here AFTER light sanding and painting.

For a quick test, we think it turned out very, very well.

We were very pleased by how well the Desktop Factory material took paint. The paint used for this first test is a lacquer in the "Model Master - Custom Lacquer System" series by Testor. It's a spray paint called Sterling Silver Matallic 3D and can be found in almost any local hobby store.

Preparation was simple. The dome was lightly sanded with 340-1000 grit sandpaper and a base coat of grey lacquer primer was used. It was finished with a lacquer clear coat in the same Model Master series.

The bottom area could have been worked a bit more; but, we were anxious to see how it would turn out under paint. However, if you click on the second image to enlarge it you can see that, overall, it smoothed out extremely nicely. We're interested in artistic applications for desktop 3D printing. So, having a material that handles this well and takes paint so nicely is very exciting.

Tuesday, June 5, 2007

Desktop Factory's June 2007 Newsletter Online!


There is good news on the Desktop Factory front! Their June 2007 newsletter is now online and reveals the planned schedule for the next few months. See the June Newsletter and find more news links at:

Desktop Factory Newsletter June 2007

And, while you are there, check out the new web site with much better images and more complete information about the Desktop Factory product, company and goals. We're more excited than ever about the goals of Cathy Lewis and her team to bring desktop 3D printing into our homes.

New Desktop Factory Website

The breakthrough price of $4,995 and the target cost of $1 per cubic inch is extremely good news for educators and those of us interested in artistic applications for 3D printing. With each dollar we save in material costs, the more experimentation and learning we can do to help us capitalize on this exciting technology.

Well done!

Friday, June 1, 2007

Where IS that old Erector Set???

It's got to be around here SOMEWHERE!!! But, it would take us longer to find it than to build this wonderfully creative personal fabricator!
One of the great things about continuously doing web research for a blog is finding surprisingly delightful and slightly wacky creations like this personal fabricator that we found at:

http://blog.rebang.com/index.php?p=101

Note the GLUE GUN extruder!

Our kudos to Vik Olliver of Waitakere, New Zealand. We LOVE inventive people! Good work, Vik!