However, the printer is only going to print as well as we have built our RapMan printer. And, I am determined that I am not going to be content until I have assured myself that the printer I have built is as good as any other RapMan out there. And, that means finding ways to fine tune as many of the variables as I can. And, at least for me, this means a By-The-Numbers approach to alignment.
Fortunately, the RapMan can help us out here, by allowing us to build alignment tools that we can use to ensure that we are as close to the most precise tolerances as we can get. I want to talk about some that I've created for myself.
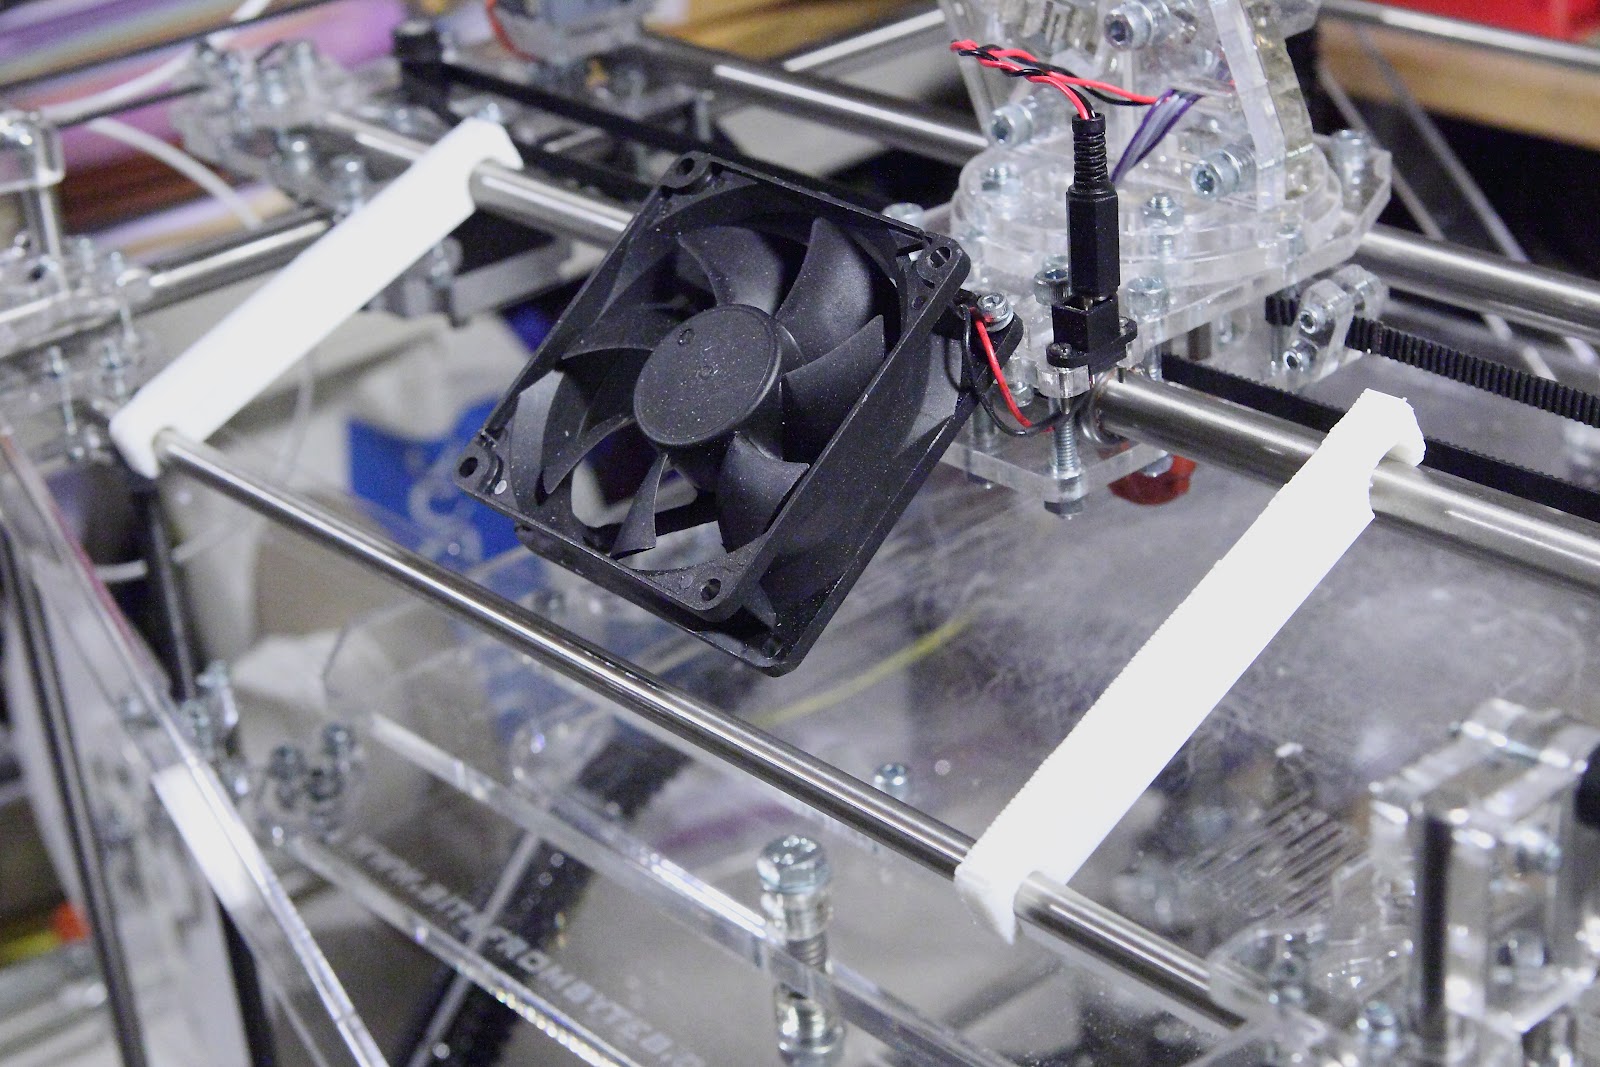
The first is a tool that allows me to align the Y-Axis travel. The RapMan uses two belts for the Y axis. And, it's possible that these two belts are pulling at an angle. The best way to ensure that both belts are adjusted so that the X-Carrier is in perfect alignment is to measure the distance on both the left and the right sides to make sure they are equal.
Here is the alignment tool that I built for this job. We use two.
 |
| Y-Axis Alignment tool |
 |
| Left Side Y-Axis Tool Attached |
 |
| 2nd Alignment tool attached to front rail |
 |
| Alignment tool being lowered to carrier rail |
If the 2nd alignment tool will not easily clip onto the carrier rail, then the carrier is out of alignment. Loosen the Y-Axis pulley at the back right of the printer and pull or push the right end of the carrier until the tool can easily be clipped to the carrier.
 |
| Carrier aligned |
No comments:
Post a Comment